OneNote Setup
1 Overview
All PHYS 1140 lab work is recorded in a OneNote notebook stored on OneDrive. You set this up once during Lab 1, then open the same notebook every week for the rest of the semester. This page walks you through both processes.
- You need your CU IdentiKey username and password and a way to complete two-factor authentication (e.g., the Microsoft Authenticator app, a text message code, or an email code).
- First-time setup takes about 10 minutes. After that, opening your notebook each week takes about 1 minute.
- If you get stuck at any point, ask your TA — they can help immediately.
2 First-Time Setup (Lab 1)
2.1 Create Your Notebook
- Log into the tablet with your IdentiKey.
- Download the PHYS 1140 Lab Notebook Template and open it in OneNote.
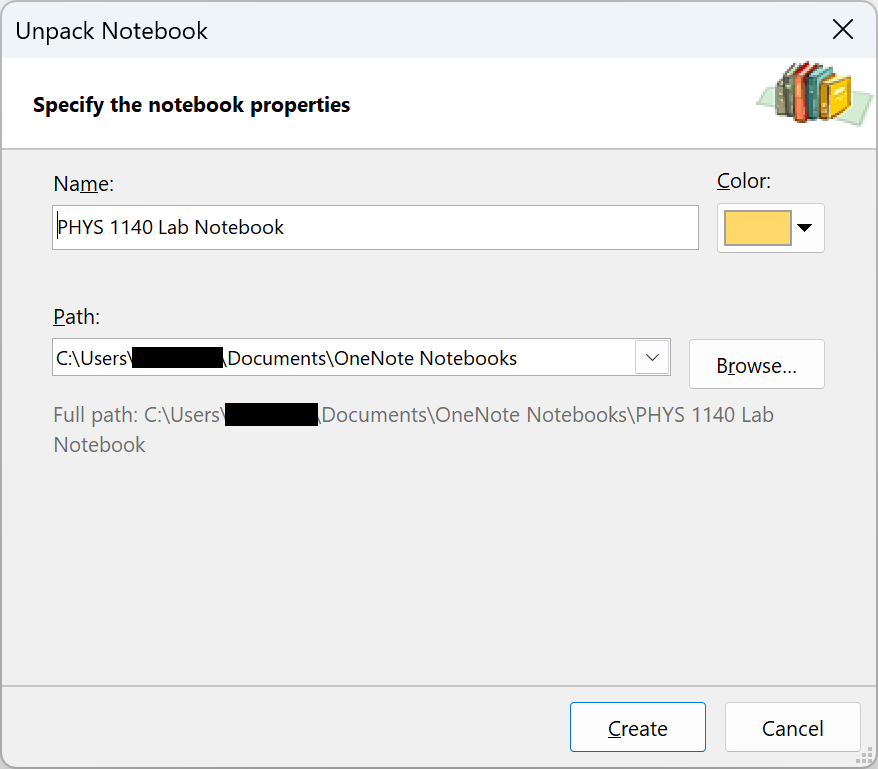
- OneNote opens a dialog titled “Unpack Notebook.” Verify that the Name field reads “PHYS 1140 Lab Notebook” — it should already be filled in from the template. Leave the Path as the default. Click Create.
- If a Microsoft license agreement window appears, review it to continue.
- Your notebook opens with the “Start here” section visible. Confirm you can see the Basic Information page before continuing.
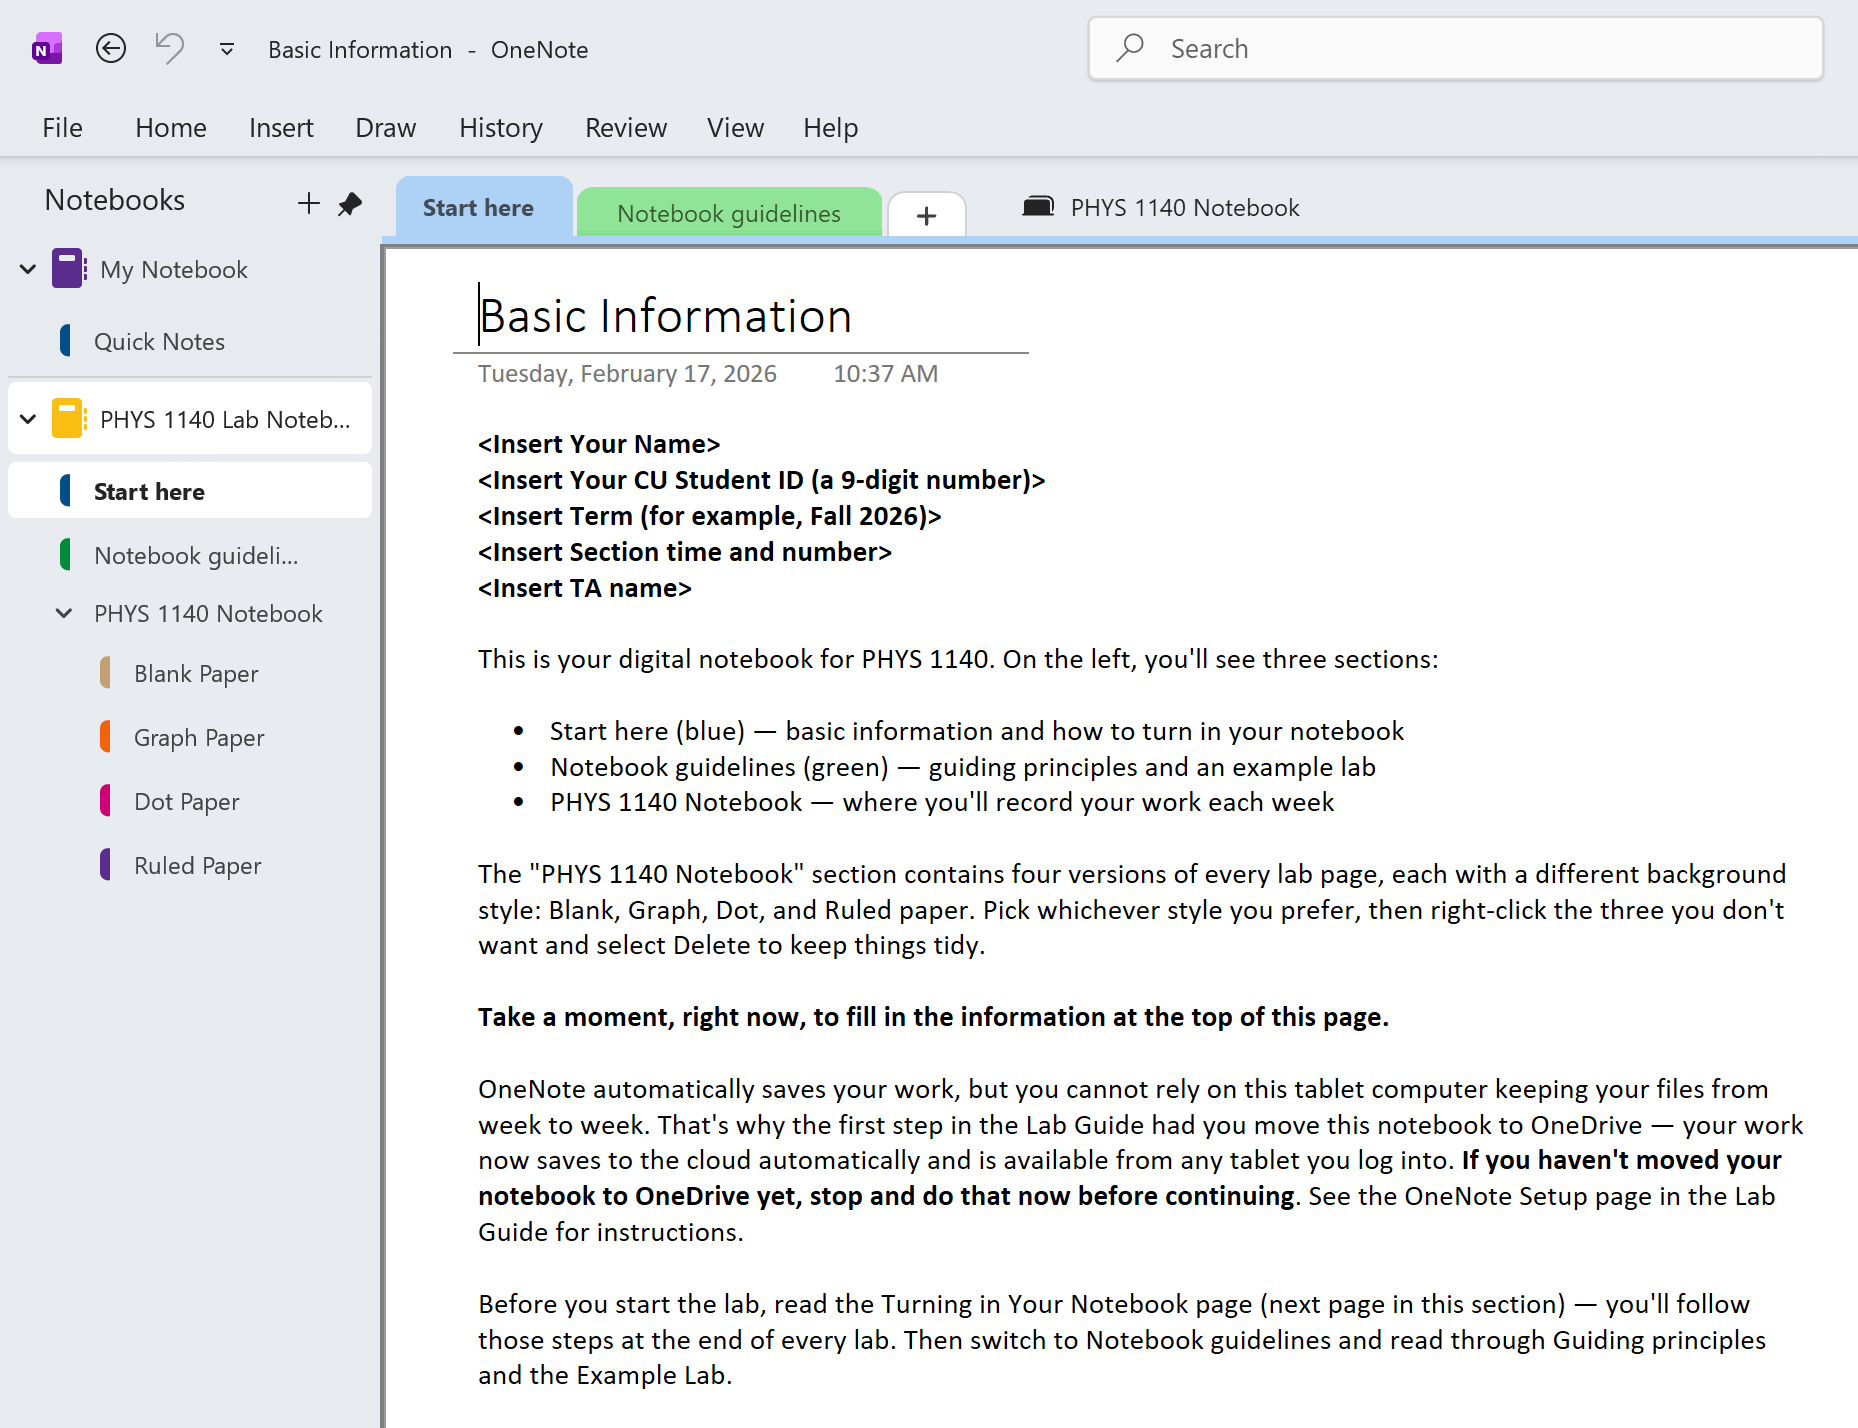
You should see your notebook with the “Start here” section visible. If you do not see this, ask your TA before continuing.
2.2 Sign In with Your CU Account
Your notebook is currently saved only on this tablet. Before you can move it to OneDrive, you need to sign in with your CU account.
- Click the profile icon in the top-right corner of the OneNote window. If you see a message like “There’s a problem with your account or device,” click Continue to start the sign-in process.

- Enter your IdentiKey@colorado.edu email address when prompted.
- You will be brought to a CU Boulder branded login page. Enter your IdentiKey password.
- Complete the two-factor authentication step. Depending on your account settings, you may be asked to approve a notification in the Microsoft Authenticator app, enter a code sent via text message, or respond to an email. Follow the on-screen instructions.
- Once signed in, click the profile icon again to verify you see your IdentiKey@colorado.edu account listed under UCB-O365.

Your profile icon should show your name and IdentiKey email under UCB-O365. If you see “Add an account” instead, click it and sign in with your IdentiKey@colorado.edu. Ask your TA if you get stuck.
2.3 Move Your Notebook to OneDrive
You must move your notebook to OneDrive so your work is backed up and accessible from any tablet you log into.
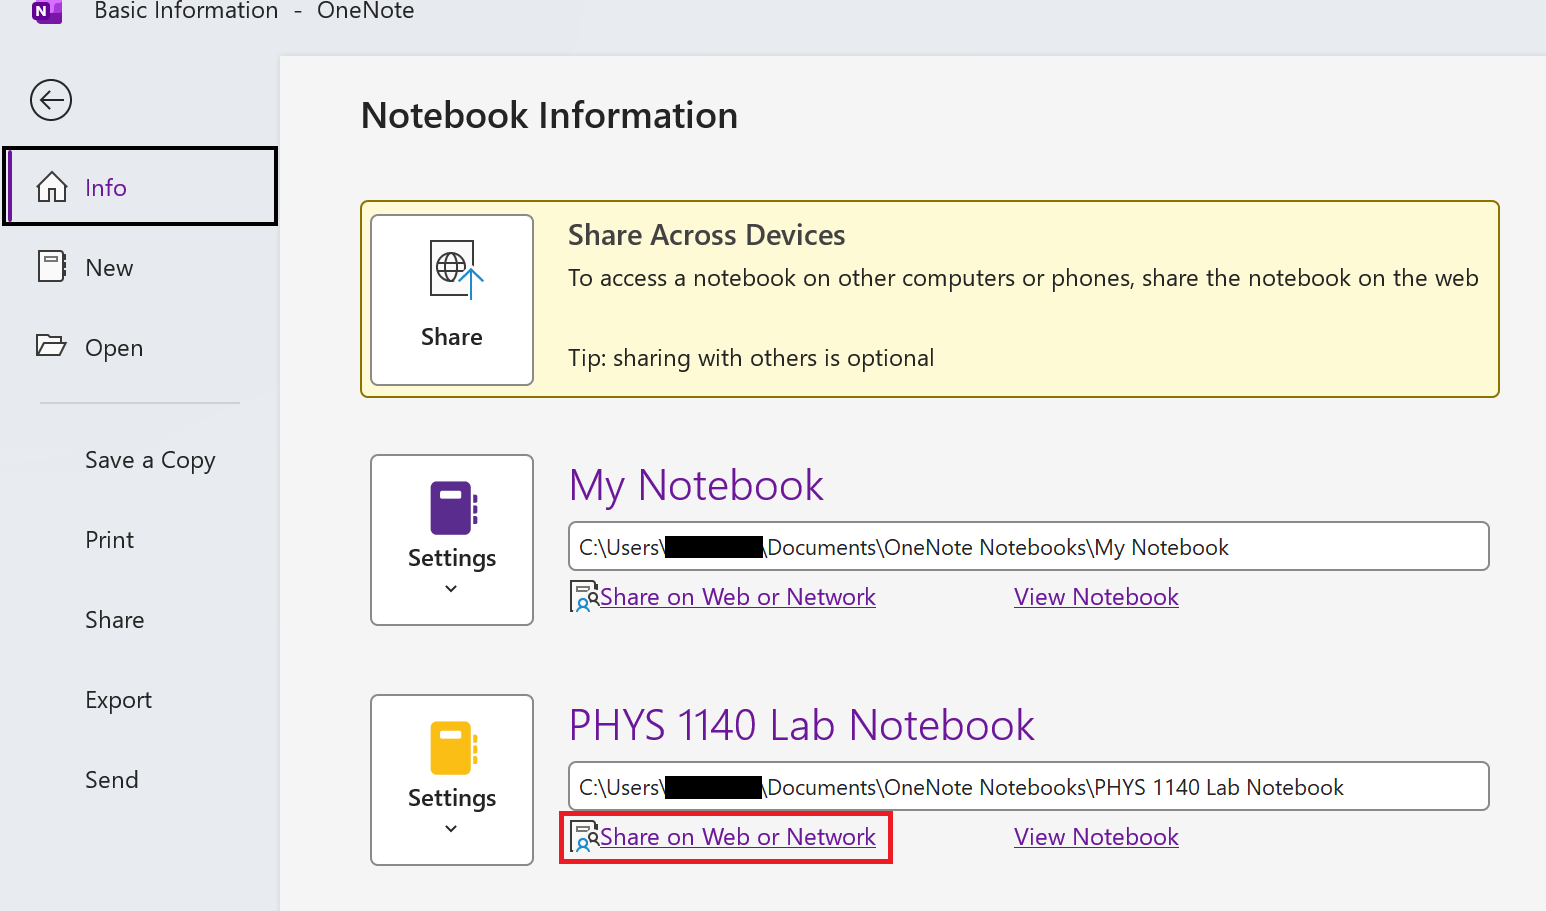
- Click File (top-left corner of the ribbon) to open the backstage menu. You should land on the Info panel by default. If not, click Info in the left sidebar.
- Find your PHYS 1140 Lab Notebook in the list. Click “Share on Web or Network” underneath it.
- A Share dialog appears. Click “OneDrive - UCB-O365” (the option showing your IdentiKey email).

Make sure you select “OneDrive - UCB-O365” (your CU account), not “OneDrive (personal).” Your university OneDrive is what syncs automatically when you log into the lab tablets each week.
- OneNote uploads your notebook to OneDrive. This may take a moment. If a dialog appears asking you to share with specific people (with fields like “Add a name, group, or email”), just close it — you do not need to share your notebook with anyone.
- Verify sync: right-click your PHYS 1140 Lab Notebook in the left sidebar and select “Notebook Sync Status…”
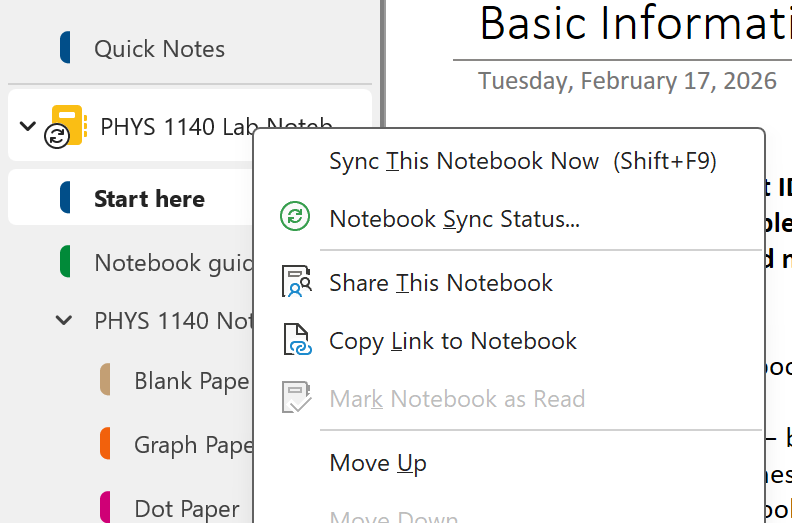
- In the Shared Notebook Synchronization dialog, wait until you see “Up to date” next to your notebook, then click Close. If the dialog appears to freeze or takes more than a minute, close it and try again — it usually completes in a few seconds on the second attempt.
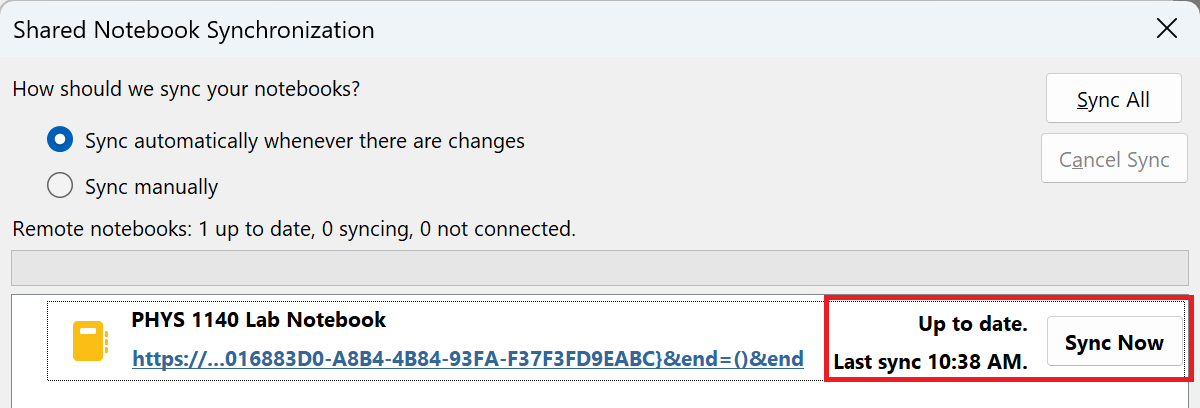
Your notebook now syncs to OneDrive. You should see “Up to date” in the sync status dialog. Your work will be saved automatically from this point on.
2.4 Next Steps
Your notebook is set up. Now work through the “Start here” section in your notebook:
- Fill in your information at the top of the Basic Information page.
- Read the Turning in Your Notebook page (you will follow these steps at the end of every lab).
- Switch to the Notebook guidelines section and read through Guiding principles and the Example Lab.
When your TA directs you to your first activity, return to the Lab 1 guide.
3 Opening Your Notebook (Week 2+)
You set up your notebook during Lab 1. Here is how to get back to it each week.
If you are using the same tablet and you are already logged in with your notebook open, you can skip these steps and start the lab.
3.1 Quick Open (Most Students)
- Log into the tablet and open OneNote.
- If your notebook appears in the left sidebar under Notebooks, click it to open it. Skip to step 5.
- If your notebook is not listed, click the profile icon (top-right) and verify your IdentiKey@colorado.edu is signed in under UCB-O365. If not, sign in now.
- Click File > Open and look for your “PHYS 1140 Lab Notebook” under OneDrive - UCB-O365.
- Verify sync: right-click your notebook in the sidebar, select “Notebook Sync Status…”, and confirm it shows “Up to date” before starting work.
Your notebook is open and shows “Up to date.” You are ready to start the lab.
3.2 If You Don’t See Your Notebook
If your notebook is not listed and “OneDrive - UCB-O365” does not appear, you may need to re-add your CU account. This sometimes happens if a different student used the tablet since your last session.
- Click the profile icon (top-right corner) and select “Add an account.”
- Enter your IdentiKey@colorado.edu and sign in through the CU Boulder login page.
- Complete the two-factor authentication step when prompted.
- Once signed in, click File > Open and look for your notebook under OneDrive - UCB-O365.
- Verify sync status before starting work.